My desktop PC died and almost forced me to buy a new one
A few days ago, on a Monday, my PC suddenly switched off while I was using it. Initially, I thought the power had simply gone out. There was no Blue Screen of Death and no freeze of any sort. It just switched off. Everything else on my desk was working, though.
I built this desktop around 2013 or so. It is old. I thought it had finally died and that I would have to spend money on a new one. I usually buy computers used or refurbished, but spending money was still something I really did not want to do. I also thought I would have to do all of this using a smartphone. I hate using smartphones. Suffice to say, I was pissed. I had better things to do than waste time dealing with this.
I did manage to find an old laptop that was still working, though. I simply transferred the SSD from the desktop to the laptop and booted it up. Everything worked out of the box, without having to install anything extra. That’s Linux.
I was almost sure the motherboard was the problem. The motherboard had actually stopped working a few years ago and forced me to replace it, so I wasn’t particularly optimistic about its chances this time either. I opened up the case, dusted everything off and tried again. It was still dead, obviously. Dusting never solved anything, other than alergies.
I did notice something interesting though. The motherboard’s standby LED was still lit, even though the computer would not start. I also noticed that one of the fans would briefly twitch when I pressed the power button, but that was all. Just a twitch. A tiny movement. It wanted to start spinning but immediately stopped. I could only reproduce this behaviour after switching the PSU off and discharging the system for a while. The fan would twitch once, and then nothing would happen again until I discharged the system and tried again. The PSU also smelled somewhat… “funny”, “broken”, “fried”.
At this point, I started thinking that maybe it wasn’t the motherboard after all. Maybe it was just the PSU. I had recently bought a new multimeter that was just gathering dust. I put it to good use and started checking the PSU.
Here is the diagram I followed:
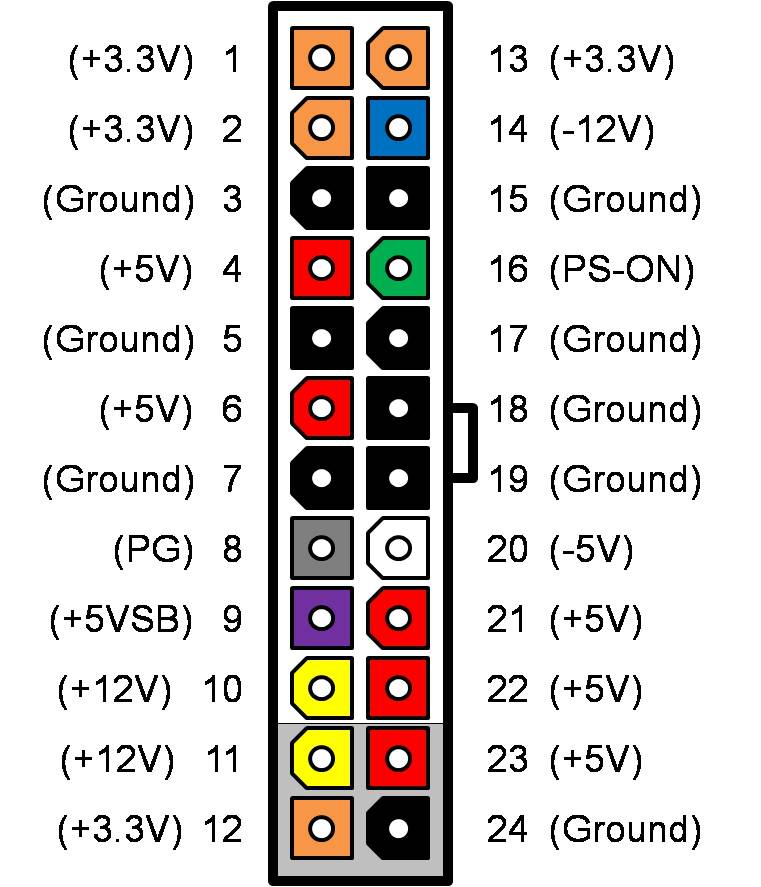
The measurements were taken directly at the 24 pin ATX connector, measuring the voltage between the relevant wire and a black ground wire. I did this with the connector connected to the motherboard. There was just enough space between the wire and the plastic casing.
A brief explanation on how a PSU works follows: The power supply and motherboard communicate through several control signals to ensure the system starts up in the correct sequence. When AC power is connected to the power supply, the PSU generates a standby voltage, typically +5VSB (5V Standby), which powers parts of the motherboard even when the computer is switched off. The motherboard uses this standby power to operate circuits such as the power button logic and the standby LED. When the power button is pressed, the motherboard pulls the PWON# (Power On, PS-ON, green wire) signal low, telling the power supply to turn on its main output rails, the +12V, +5V, and +3.3V. Once these voltages are stable and within specification, the power supply increases the voltage of the PWR_OK to inform the motherboard that the main power outputs are ready. In the previous diagram, the PWR_OK is represented as PG, the gray wire. The motherboard then allows the CPU and other components to come out of hibernation and begin executing firmware from the BIOS/UEFI. Signals marked with a #, such as PWON#, are generally active-low, meaning the signal is considered asserted when its voltage is pulled low. This sequence allows the motherboard and PSU to coordinate startup and ensures that the computer does not begin normal operation until the required power is available.
In sum:
- You press the power button.
- The motherboard pulls PS-ON# low.
- The PSU turns on its main voltage outputs.
- The PSU checks that the outputs have stabilized.
- The PSU raises PG to indicate that the power is good.
- The motherboard can proceed with startup.
Now, onto what I did. First, I measured the purple wire against a black wire on the 24 pin connector (5VSB, the 5V standby rail). I got a constant 5V, which was exactly what I expected. This explained why the motherboard’s standby LED was still lit. The PSU was providing standby power.
Then I checked the green wire against black (PS_ON#, the signal the motherboard uses to tell the PSU to switch on). In standby, it was around 5V. When I pressed the power button, the voltage changed as the motherboard attempted to start the PSU.
Finally, I checked the yellow wire against black (the +12V rail). It was at 0V while the computer was in standby, which is normal. When I pressed the power button, however, the voltage increased to around 12V, though very briefly, and then collapsed again. That seemed to explain the tiny fan twitch. The PSU was apparently trying to start, producing 12V, and then immediately shutting down.
At this point I sort of got happy and convinced myself that it was probably the PSU. I wouldn’t have to spend hundreds on a new computer. Yay!
I wasn’t 100% sure, though. A faulty motherboard can also cause a PSU to shut down, so the diagnosis wasn’t final. And it could be the whole thing.
I hopped onto Amazon and bought the cheapest power supply I could find: a €20, 500W ATX PSU. The goal was simple. If it fixed the problem, great. If it didn’t, I would return it. Say what you will about Amazon, but it has a pretty good return policy. I unplugged the old PSU and waited for the new one.
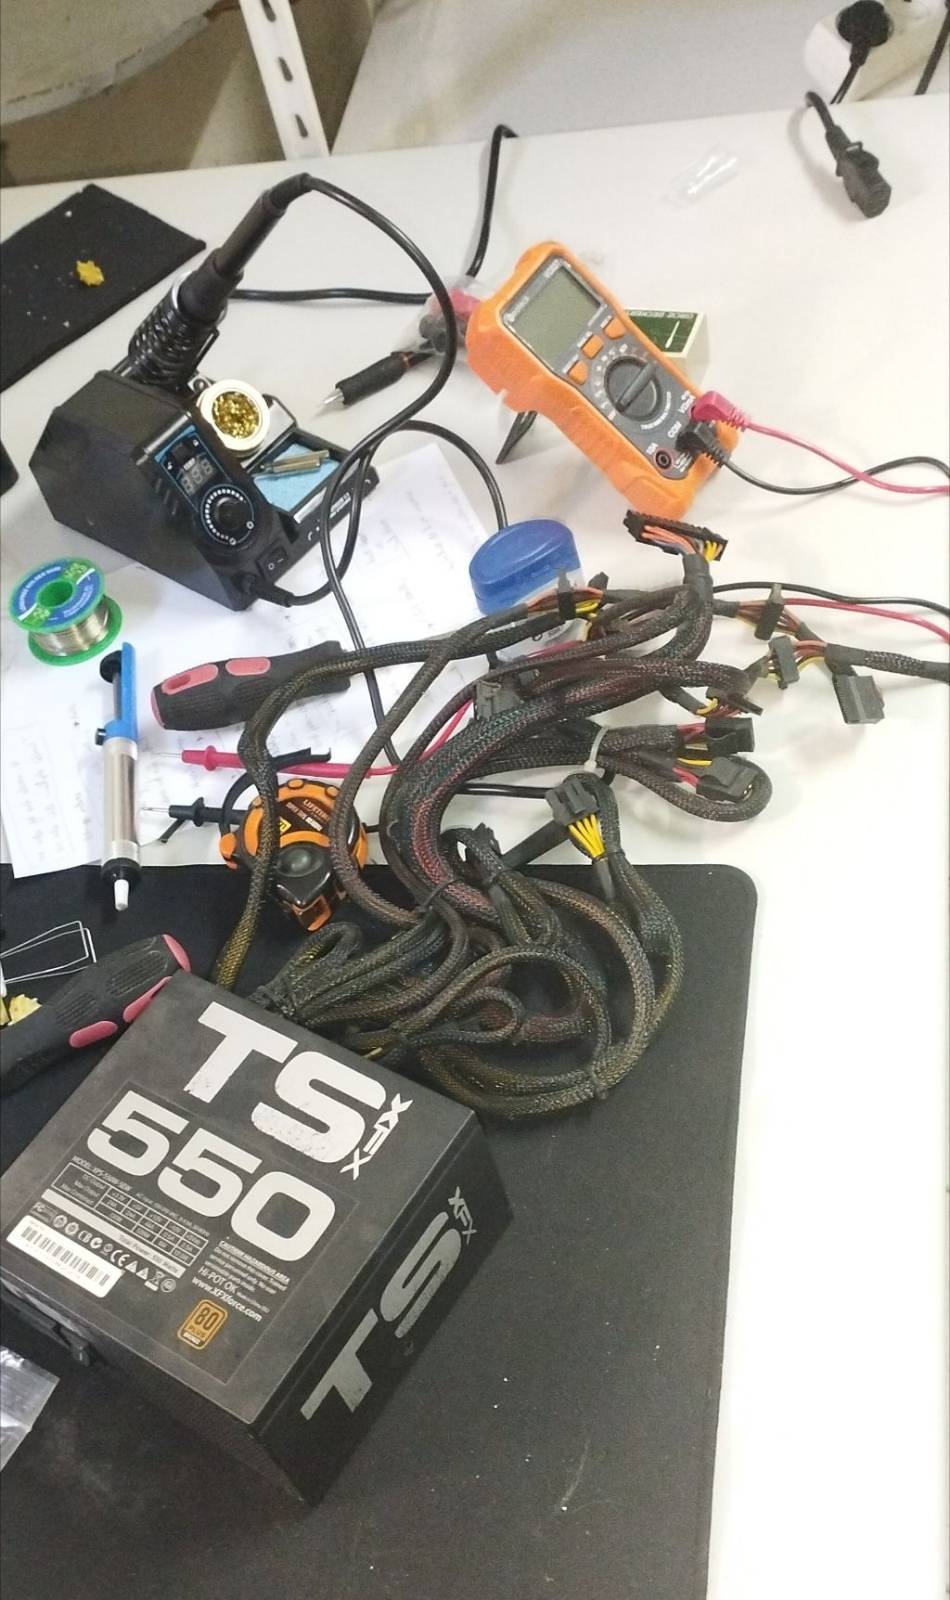
Here is some eyecandy, a pic of a dirty desk with my old PSU on it:
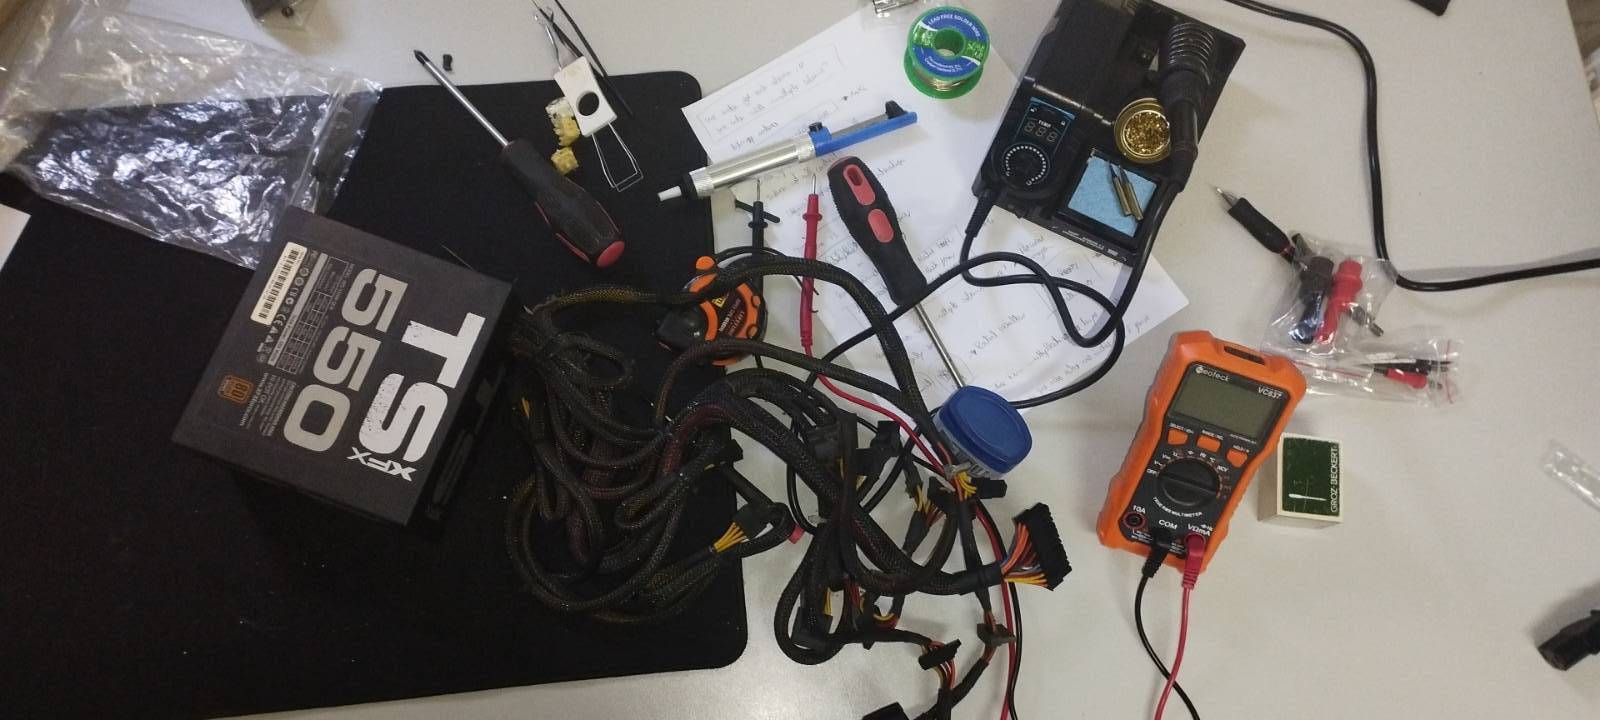
And another one, different view:
The new PSU arrived 2 days later. I installed it, pressed the power button and the fans spun normally! Yay! I started connecting everything back up, the RAM, the disks, the monitors, everything else. I then turned the PC on and there was no video output. The fans were spinning, but nothing appeared on the monitors. They were just black. The motherboard wasn’t reaching POST. I, of course, checked the connections making sure the monitors were properly plugged and all that. “Motherboard was probably “fried” as well”. That is what I thought. Then I remembered that I have always had trouble with RAM sticks. I’ve actually returned a computer before because I thought it was broken. The problem turned out to be that the RAM wasn’t properly seated.
So I started testing the RAM sticks individually. Long story short, about 20 minutes later I had everything working properly. It was, once again, the RAM.
I just don’t understand why I keep making the same mistake. I even hear the “click”, see the locking mechanism close, and think “yep, that’s definitely in”. Apparently not. Seriously, am I the only one?
Whatever.
The new PSU fixed the actual problem. The RAM issue was just a troubleshooting detour.
The whole experience was a nice reminder that hardware failures don’t always require replacing the machine. A few observations, a multimeter, and a willingness to learn and test things can take you surprisingly far. This is sort of the hacker/DIY/solarpunk mindset that I enjoy.
Instead of spending hundreds of euros on another computer, I spent 20 euros and some time figuring out what was actually wrong.
And now I’m writing this post on the same old PC. May it live for many more years.
I am happy. I just saved some money. I mean, compared to 1 week ago, I actually spent some money, 20 euros. And wasted tons of time. Glass half full vs glass half empty.
Now, the 20 euro PSU is probably a piece of junk. I do not plan to ride this desktop much longer though, so I will see how it goes.
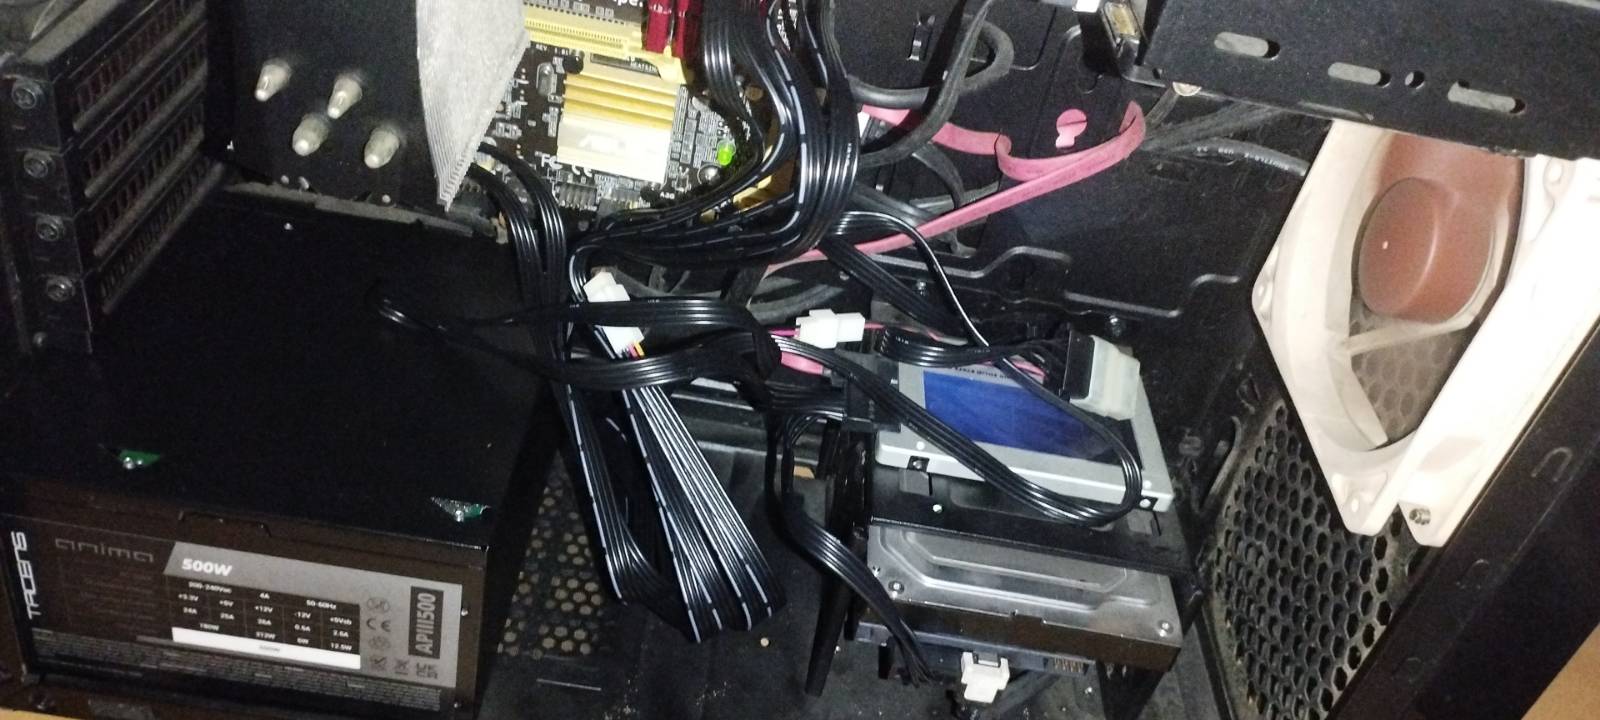
And some final eye candy: the new PSU doing its job. Pardon the non-existent cable management: